

Review ultrasound frame by frame.
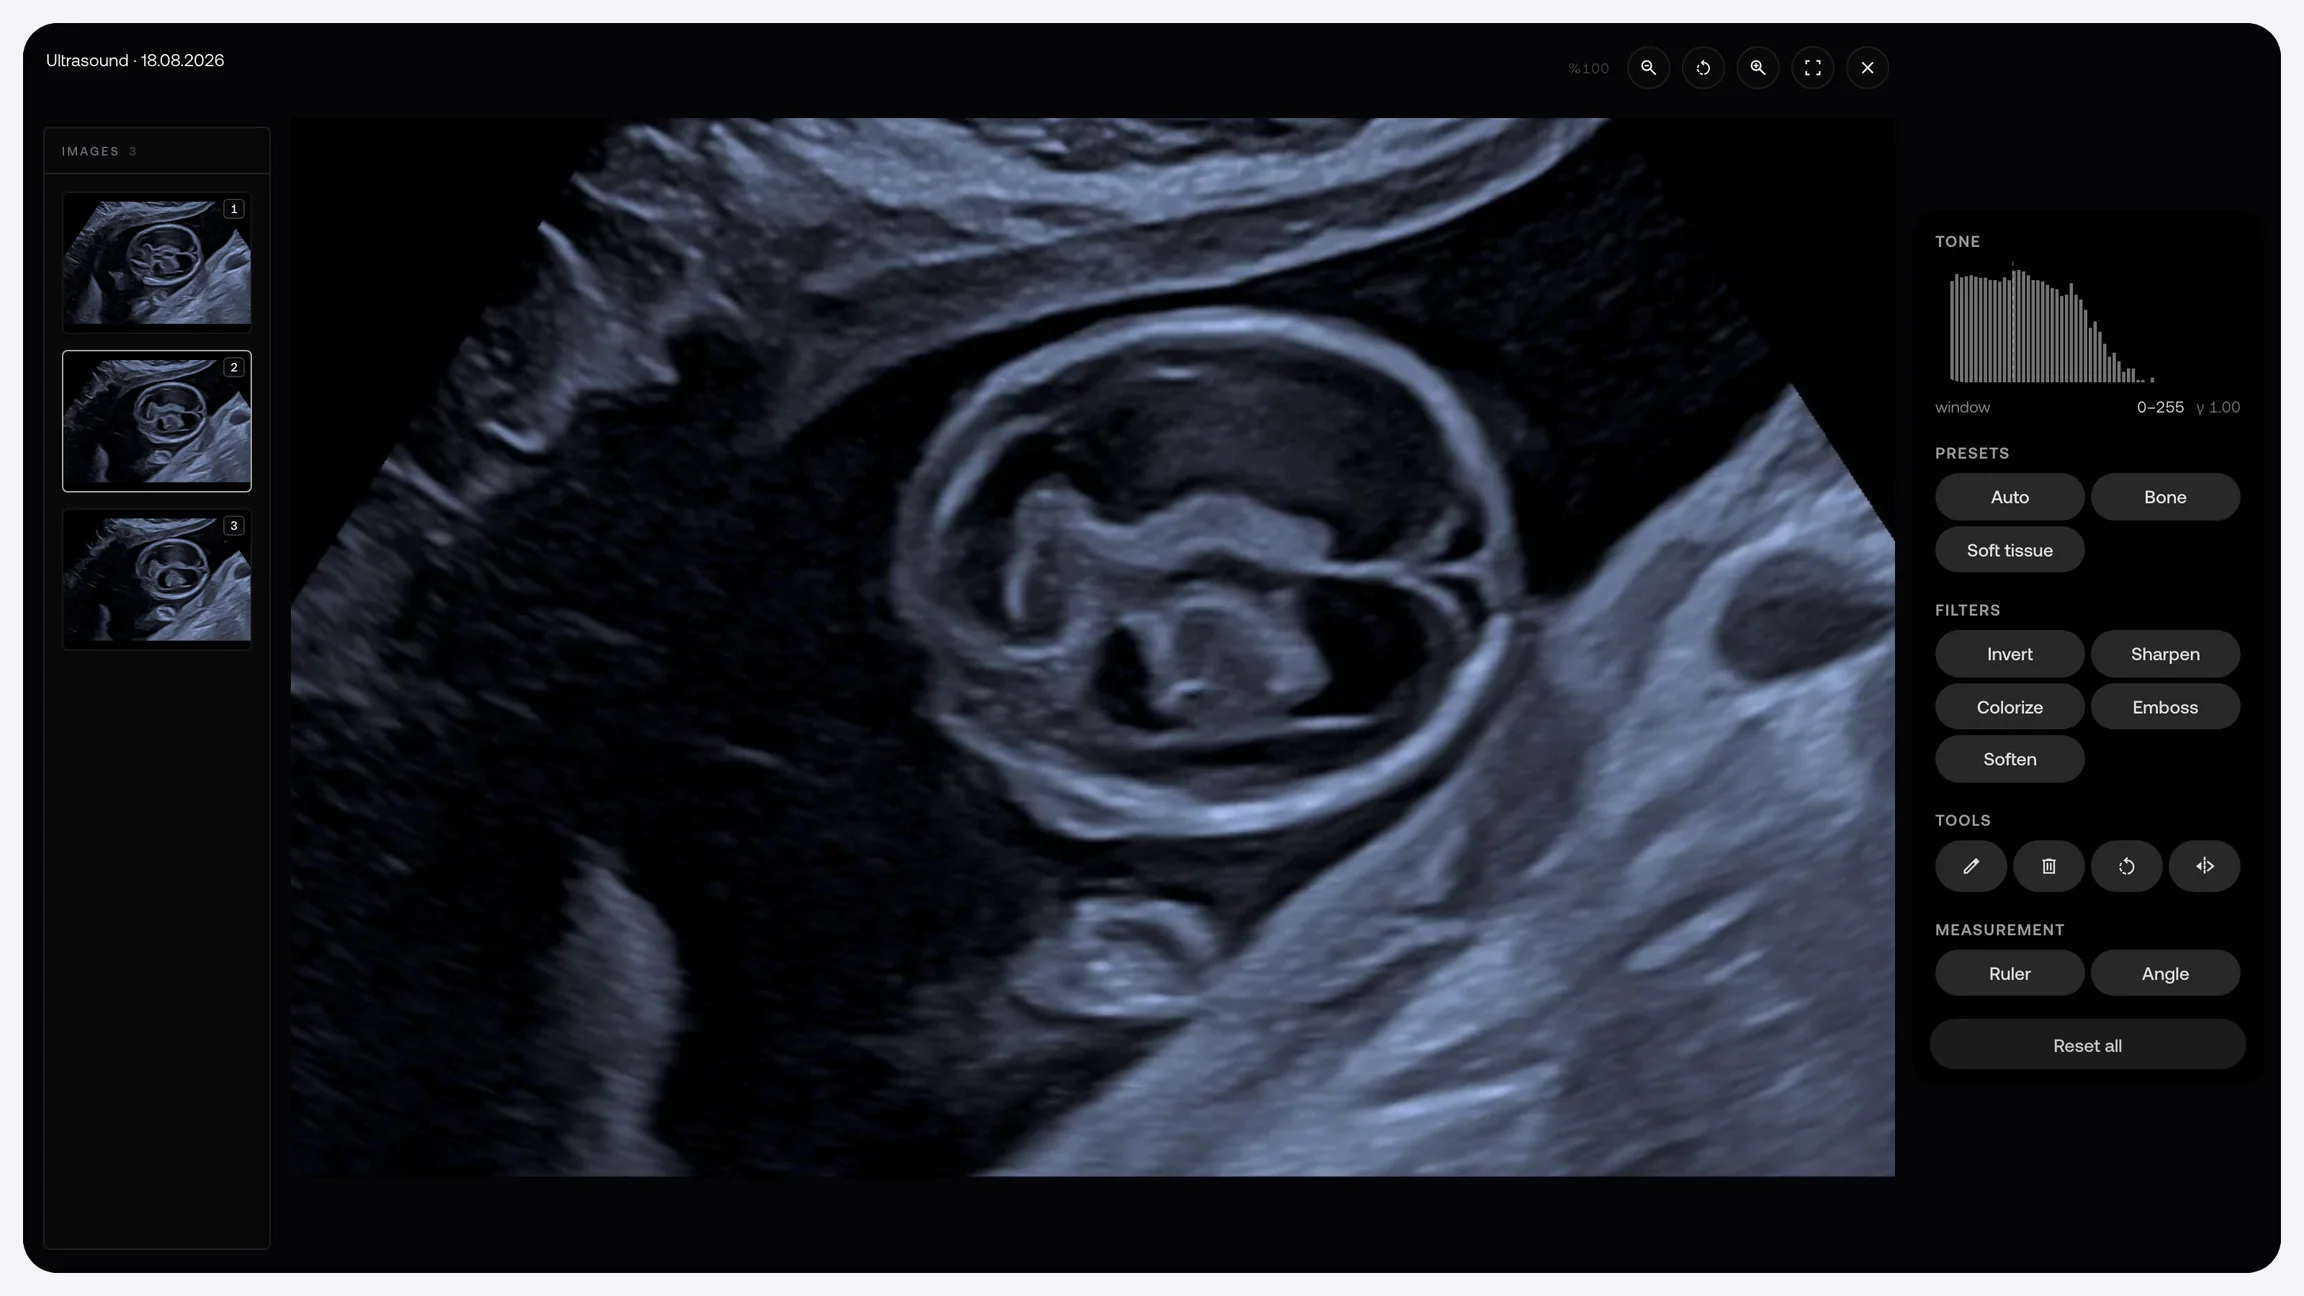
Play the cine recording and pause on any frame. Open Doppler images in colour and add notes and annotations to your selected frame.
Explore obstetrics and gynaecology toolsBring your ultrasound, X-ray and CBCT images into the patient file with MyKlinik Bridge. Open them in your browser, take measurements and review selected images side by side.
View the day's appointments on your Worklist-compatible device and select your patient from the list. We'll check DICOM and Worklist compatibility together during setup.
Add the folder where your device software saves images to Bridge. Import new images and choose whether to include existing files too.
Check incoming images and assign them to your patient. Move them to another patient file if needed, then open the image from the correct record to continue your review.
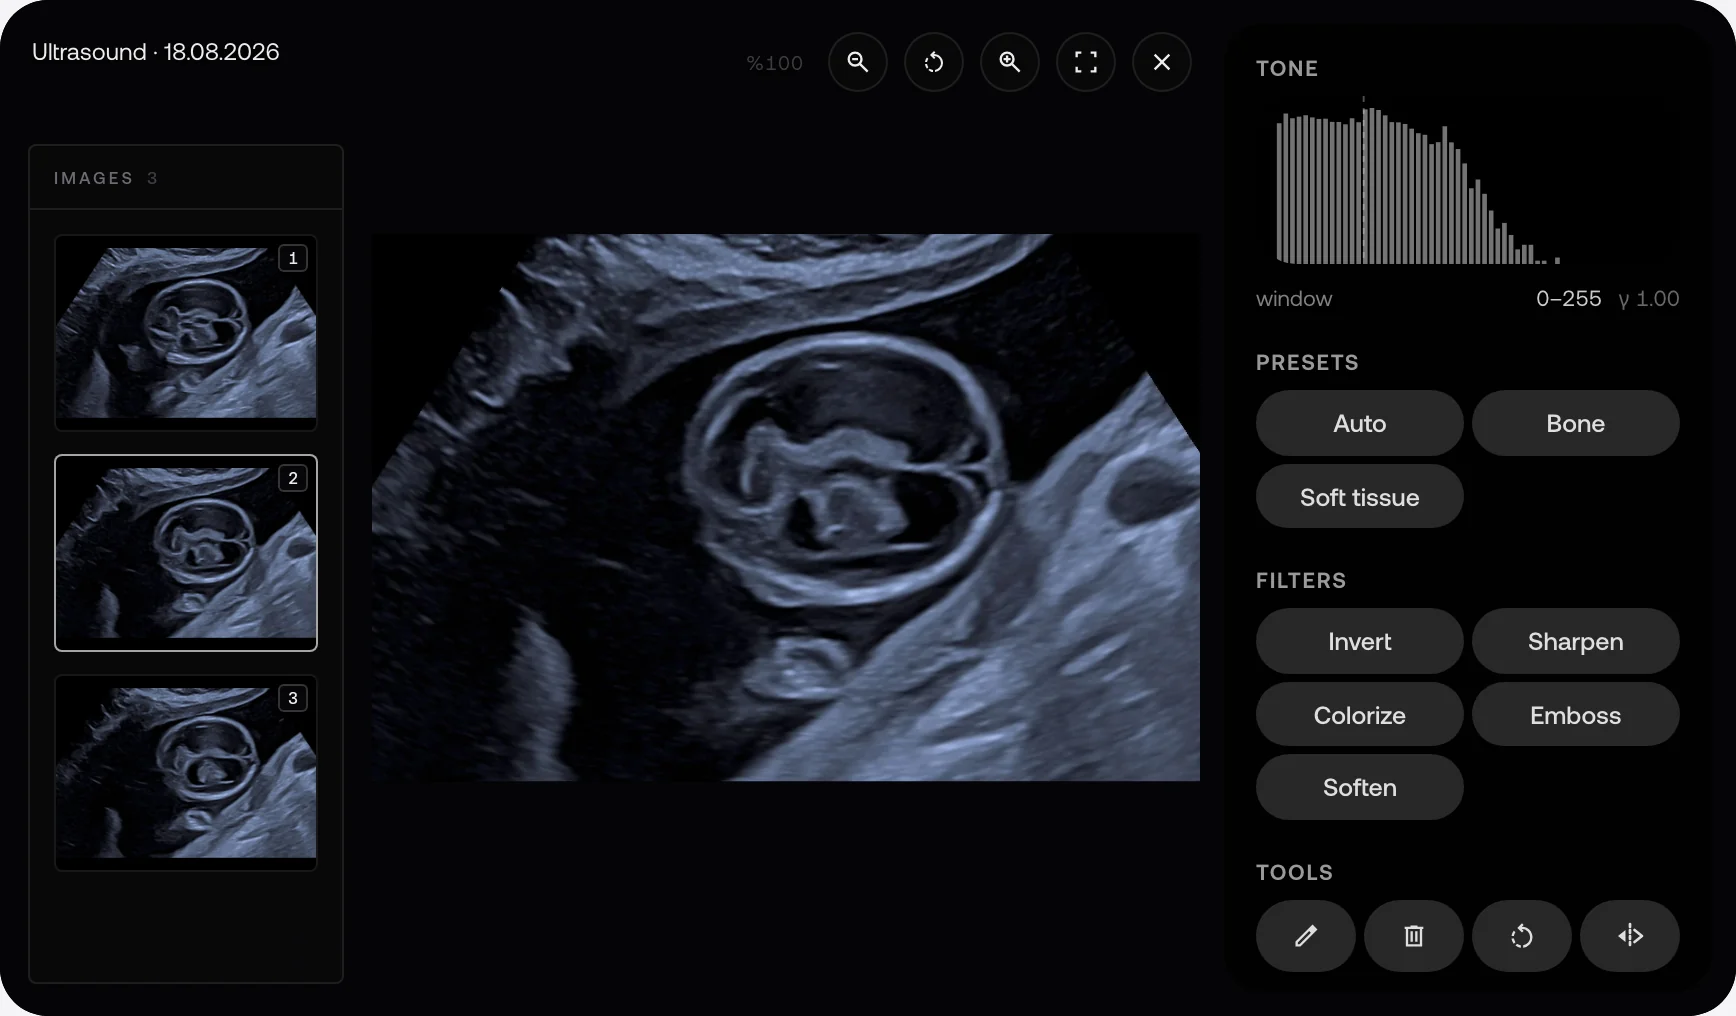
Play the cine recording and pause on any frame. Open Doppler images in colour and add notes and annotations to your selected frame.
Explore obstetrics and gynaecology toolsAdjust image tones and measure angles and distances. Work with physical measurements on images that include calibration data, and review selected images side by side. For CBCT, switch between slice, panoramic and 3D views.
Explore dentistry toolsAccess previous visits, consultation notes and images from the same file. Send your patient an image link by SMS and print the report you prepare when needed.
Explore the patient filePlay the cine recording and pause on any frame. Open Doppler images in colour and add notes and annotations to your selected frame.
Explore obstetrics and gynaecology tools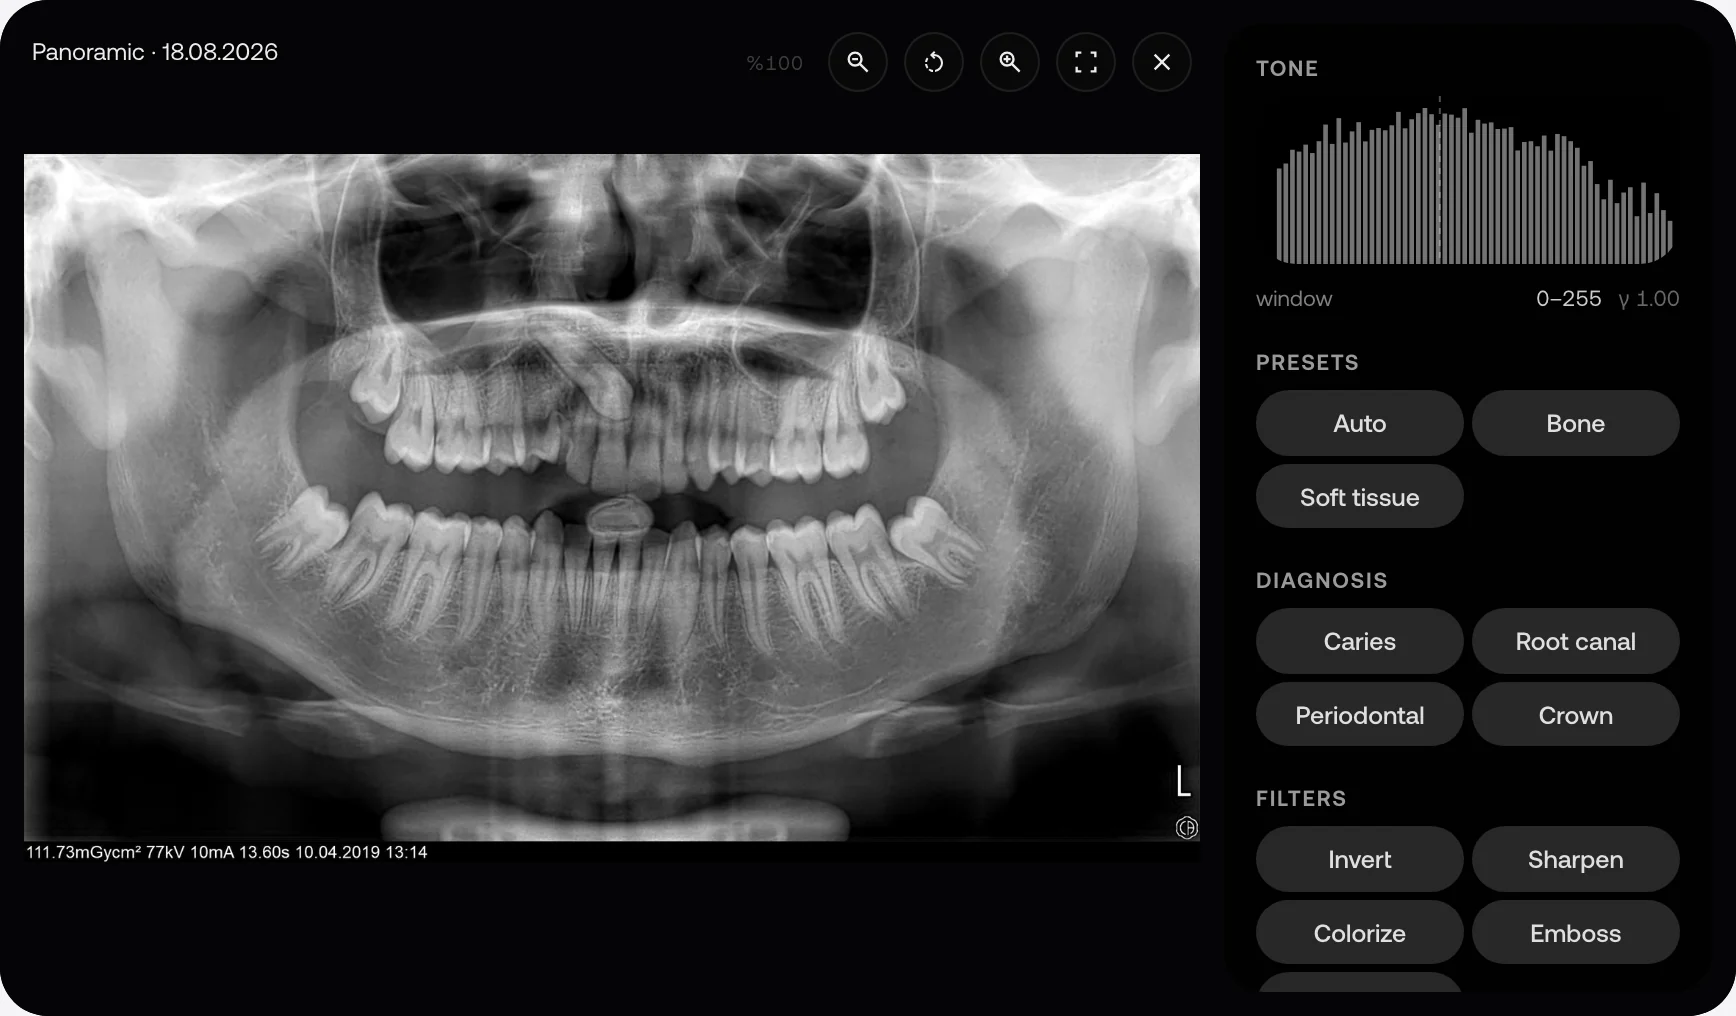
Adjust image tones and measure angles and distances. Work with physical measurements on images that include calibration data, and review selected images side by side. For CBCT, switch between slice, panoramic and 3D views.
Explore dentistry tools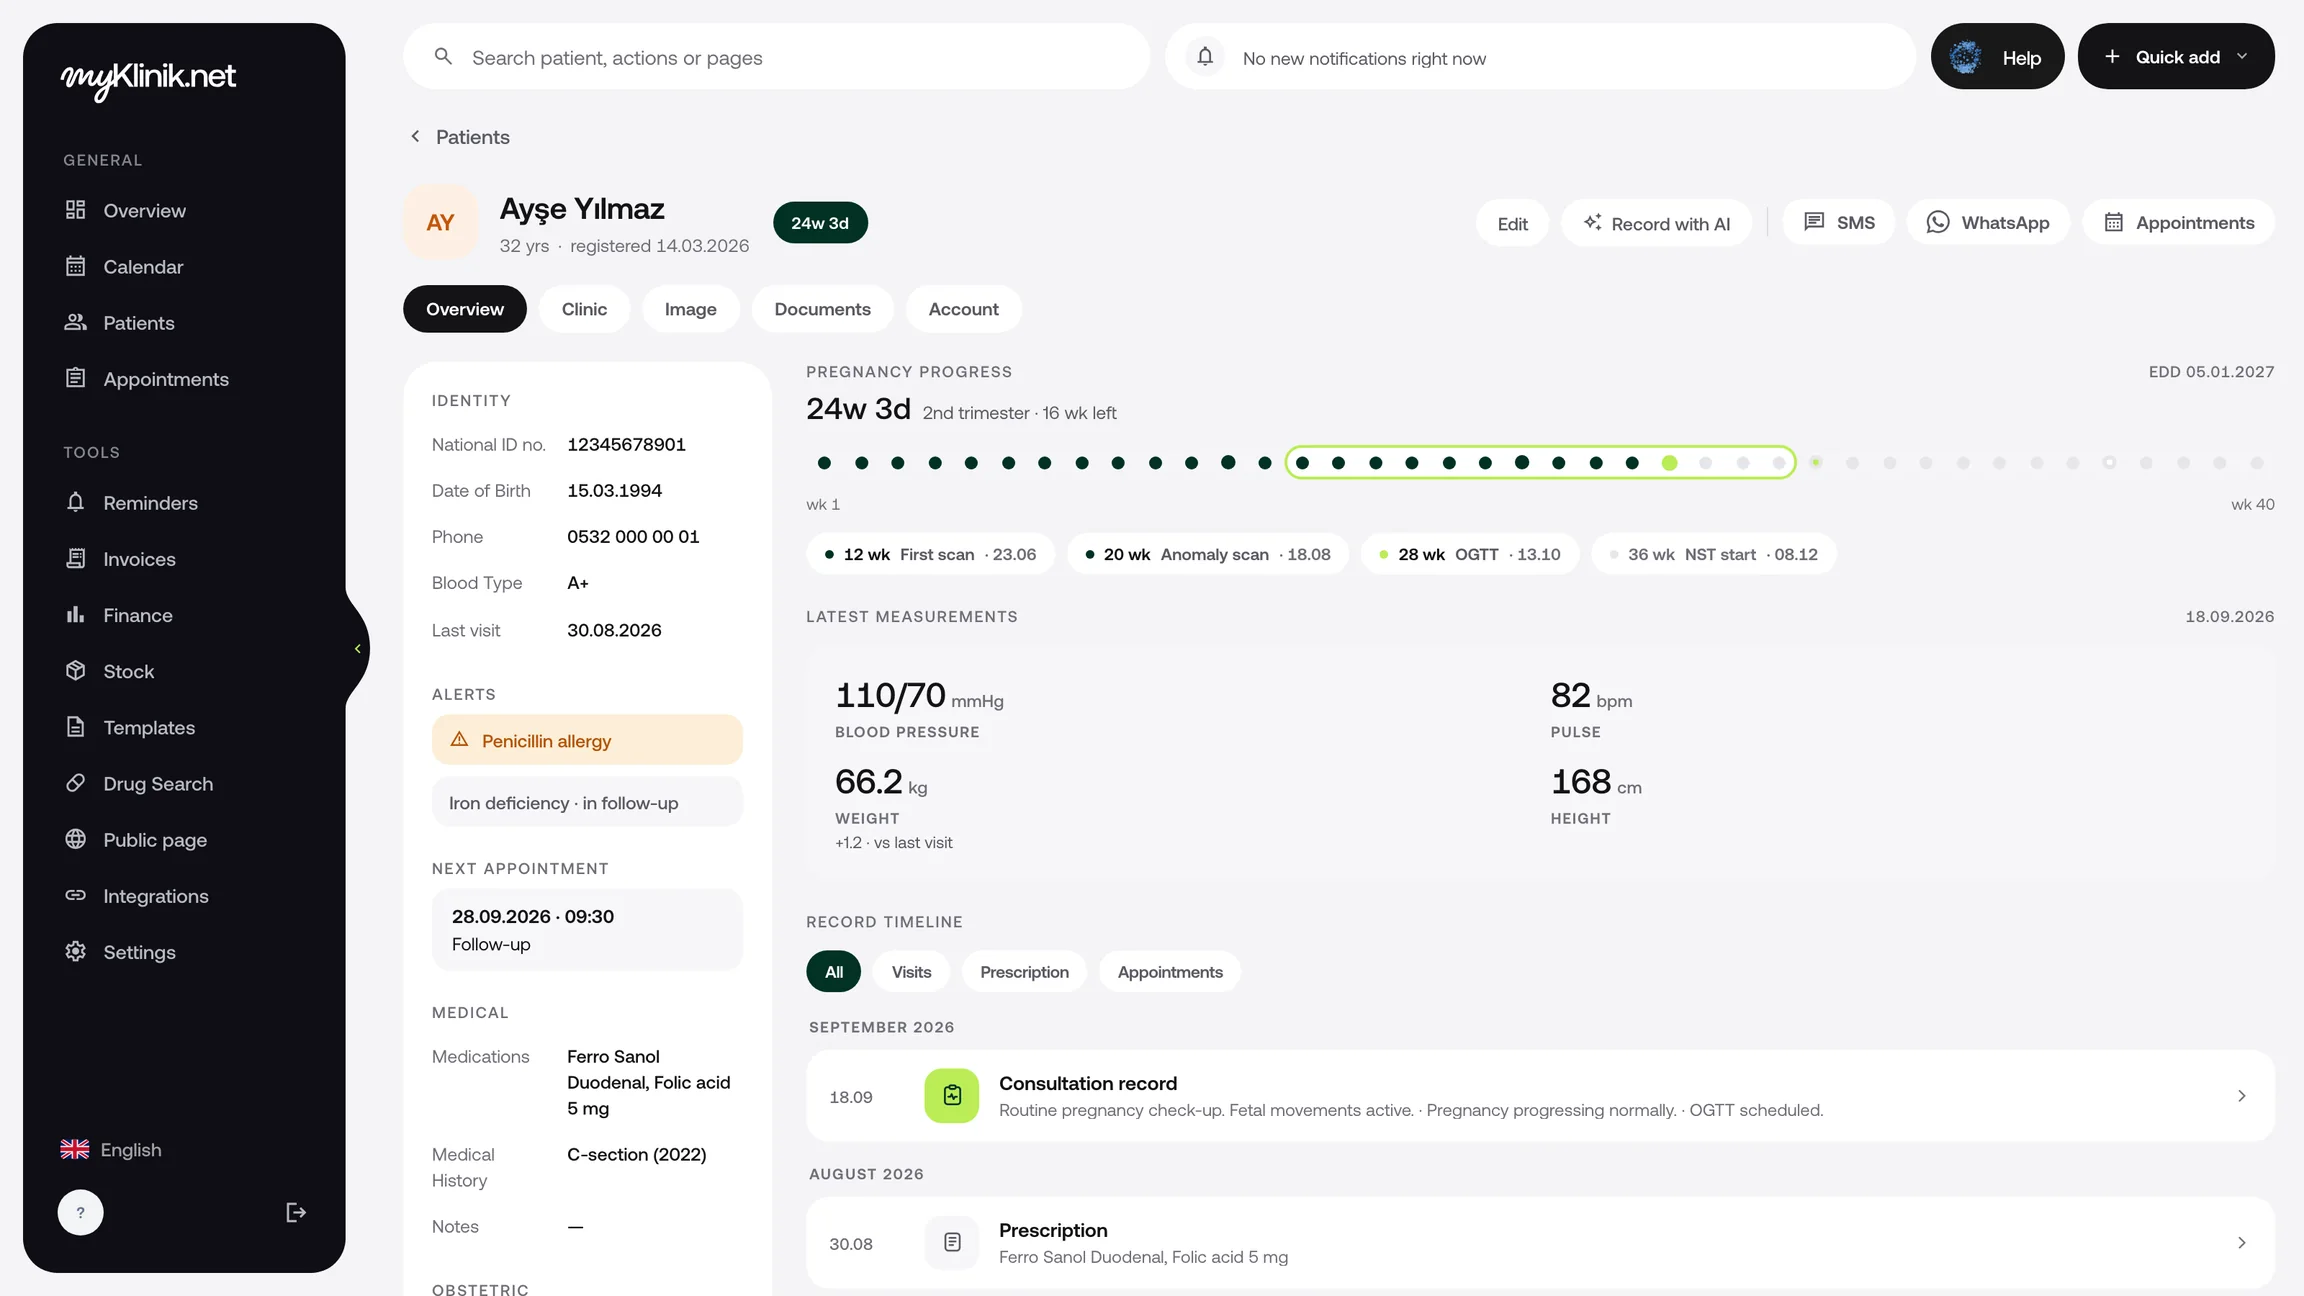
Access previous visits, consultation notes and images from the same file. Send your patient an image link by SMS and print the report you prepare when needed.
Explore the patient fileLet's review your device model and its DICOM and Worklist support together. If needed, we'll plan JPEG/PNG imports from a folder.
Install Bridge on a Windows computer on the device's network. Sign in to your MyKlinik account, check the code in Bridge and approve the connection.
Capture an image and we'll check its arrival and patient match together. Then open it from the patient file to review it.
Let's review your device's connection options together. Request a demo.
Let’s check your device model and its DICOM and Worklist support before setup. If its software can save JPEG or PNG files, we can also assess folder import.
Sign in with your MyKlinik account and download Bridge. Install it on a Windows computer on the same network as your device, then check the pairing code and approve the connection.
Check the patient match for the incoming image and assign it to the correct patient. If needed, move it to another patient file and open it there to verify.